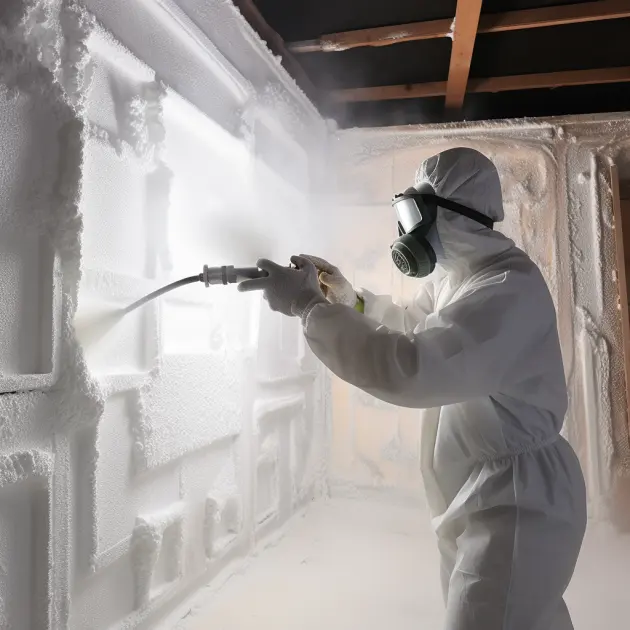
Installing spray foam insulation can be a great DIY home improvement project for homeowners looking to save money on their energy bills. Spray foam creates an air-tight seal and provides excellent insulation value when properly installed. However, inexperienced installers often make mistakes that lead to poor results and fail to get the most out of this versatile insulation material. This article will cover the most common errors made with spray foam and provide tips on how to avoid these pitfalls.
Not Wearing Proper Protective Gear
One of the biggest mistakes DIYers make is not wearing proper protective gear when spraying foam. The fumes released from the chemicals as they rapidly expand can be harmful if inhaled. The respiratory protection provided by an N95 respirator is essential to avoid breathing in these fumes. Nitrile gloves, goggles, and full coveralls are also recommended to prevent skin and eye exposure to the chemicals. Attempting to spray foam without adequate breathing, hand, eye, and skin protection puts your health at serious risk. Don’t ignore the manufacturer’s safety guidelines just to save a little time or money. Invest in quality safety gear so you can spray comfortably without dangerous exposure to the reactive foam chemicals.
Poor Surface Preparation
Rushing into the spraying portion without proper surface prep will also compromise your insulation results. The surface sprayed needs to be clean, dry, and stable for the foam to adhere correctly. Take time to thoroughly clean the area of any dust, oil or debris that could interfere with proper bonding. Patch any holes or cracks in the surface and secure any loose boards or materials. Spray foam can only insulate and seal properly if applied to a solid surface free of contaminants. Skipping this step can mean peeling or uneven foam that leaves gaps in the insulation barrier. Don’t make the mistake of ignoring surface prep just because it isn’t the exciting spraying part. Proper preparation makes a big difference in the long-term performance of the insulation.
Rushing the Curing Process
It can be tempting to move on to the next task soon after finishing the spray foam application, but patience is key when it comes to curing. Fully allowing the recommended cure time before excess trimming or handling ensures the foam rigidizes properly. Spray polyurethane foam continues expanding and hardening for six to 24 hours after application depending on the type. Early trimming or manipulation can create defects, irregular surfaces, compression areas or weak spots. Be prepared to allow the full manufacturer recommended curing period for the specific foam you are using before doing any modifications or installing adjacent materials. Rushing this step compromises the structural integrity of the insulation.
Incorrect Spraying Technique
Applying foam with poor technique also causes uneven, ineffective insulation. Holding the spraying nozzle too close or too far from the surface will result in inconsistent coverage and density. Maintain the recommended distance from the surface as you spray smoothly back and forth in even strokes slightly overlapping each pass. Drips or sputtering foam indicate a problem with the spraying technique that should be corrected. Practice spraying on scrap materials until you achieve a smooth, consistent foam layer. Taking the time to perfect technique makes the actual insulation application much easier and minimizes wasted foam from mistakes.
Insufficient Layer Thickness
Be sure to spray foam to the thickness recommended by the manufacturer, which is usually one to two inches for closed-cell foam. Multiple passes are needed to build up adequate layering for proper insulation R-value and an air-tight seal. Attempting to coat the area in one quick pass will result in foam that is too thin to be effective. Spray an even one-inch layer, allow time to partially cure, then come back and apply a second layer if needed. Repeat until reaching the total inch thickness required. Don’t skimp on the foam thinking a thin coat is good enough. Properly estimating the amount of foam needed to achieve the right thickness will ensure you get the full insulation and sealing value from the application.
Installing spray foam insulation yourself can save thousands of dollars in energy costs when done properly. Avoiding common mistakes like inadequate gear, poor surface preparation, rushed curing, bad technique, and insufficient thickness will ensure you get optimal results from your foam application. Taking the time to do it right will pay off with effective, long-lasting insulation that seals out drafts, moisture, and pests. With sound preparation and spraying technique, your next DIY spray foam project will provide superior insulation performance for years to come.


